

Making a pie crust from scratch may seem hard. But it is not. You can make a good pie crust without a food processor. This guide will show you easy steps to do it by hand.
What Is Pie Crust?
Pie crust is a thin dough used to hold pie fillings. It can be sweet or salty. The crust gives pies a nice shape and taste. It should be light, flaky, and crisp.
Why Make Pie Crust Without a Food Processor?
- Not everyone has a food processor.
- Using hands or simple tools can be fun.
- You control how dough feels and looks.
- Less cleaning after baking.
Ingredients You Will Need
| Ingredient | Amount | Notes |
|---|---|---|
| All-purpose flour | 2 ½ cups | Use fresh flour for best taste |
| Salt | 1 teaspoon | Enhances flavor |
| Cold butter | 1 cup (2 sticks) | Cut into small cubes |
| Ice water | 4 to 6 tablespoons | Keep it very cold |
Tools You Will Need
- Large mixing bowl
- Pastry cutter or two forks
- Measuring cups and spoons
- Rolling pin
- Plastic wrap
Step-by-Step Guide To Make Pie Crust By Hand
Step 1: Prepare Your Ingredients
Start by measuring all ingredients carefully. Cut the cold butter into small cubes. Keep the butter in the fridge until ready. Cold butter helps make the crust flaky.
Step 2: Mix Flour And Salt
Put flour and salt in a large bowl. Use a whisk or fork to mix well. This makes the salt spread evenly in the dough.
Step 3: Cut Butter Into Flour
Add cold butter cubes into the flour mix. Use a pastry cutter or two forks. Press down and cut the butter into flour. Do this until mixture looks like small peas. Butter pieces should be small but still visible.
Step 4: Add Ice Water
Add ice water, one tablespoon at a time. Mix gently with a fork or your hand. Stop when dough just starts to come together. Do not add too much water. Dough should be moist but not sticky.
Step 5: Form The Dough
Use your hands to gently press dough together. Make a flat ball or two disks. Do not knead too much. Overworking can make the crust tough.
Step 6: Chill The Dough
Wrap dough in plastic wrap. Put in the fridge for at least one hour. This helps dough rest and butter stay cold. It makes rolling easier later.
Step 7: Roll Out The Dough
After chilling, take dough out of fridge. Lightly flour a clean surface and rolling pin. Roll dough from center outwards. Roll evenly into a circle about 12 inches wide. Don’t press too hard.
Step 8: Place Dough In Pie Pan
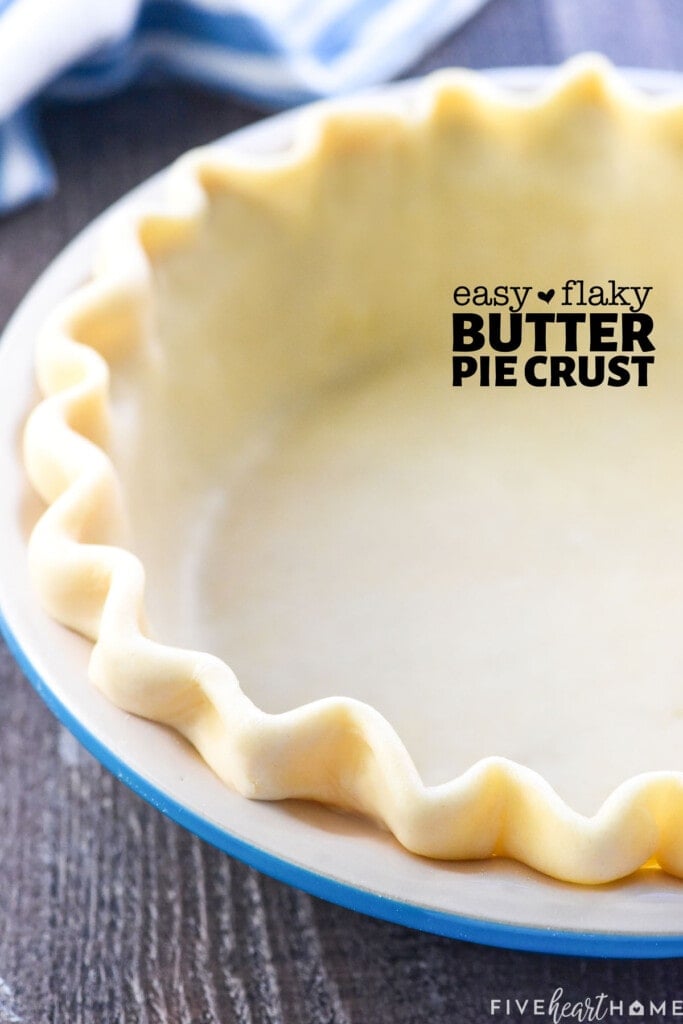
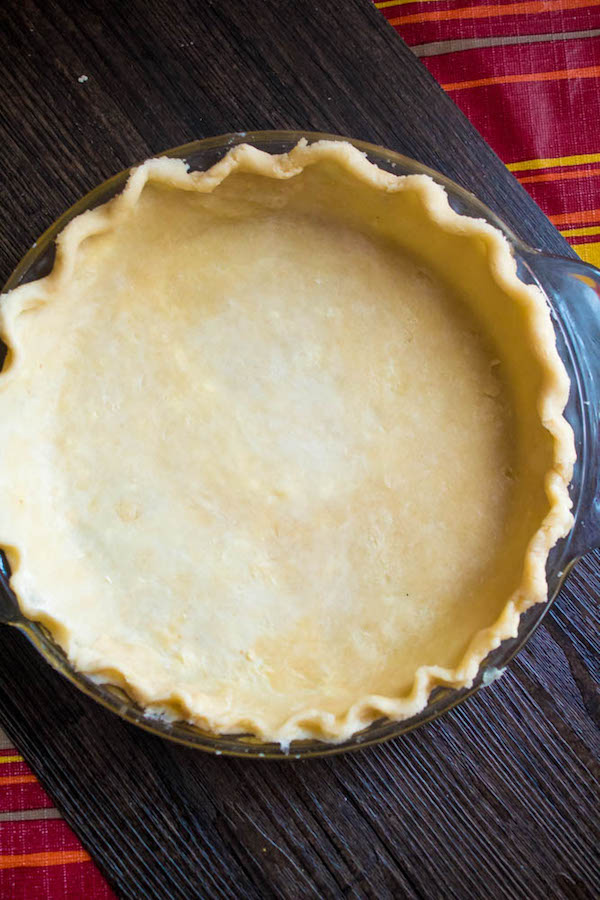
Carefully lift rolled dough. Place it into a pie pan. Press dough gently along bottom and sides. Trim extra dough hanging over edges. Use your fingers to shape the edges nicely.
Tips For The Best Pie Crust Without Food Processor
- Keep butter and water cold. Warm ingredients make dough sticky.
- Do not overmix. Mix just until dough forms.
- Use a light touch. Press dough gently when rolling and shaping.
- Chill dough well. Resting makes rolling easier.
- Flour your surface and pin lightly. Prevents sticking.
Common Problems And How To Fix Them
| Problem | Cause | How To Fix |
|---|---|---|
| Dough is too sticky | Added too much water or warm butter | Chill dough, add a little flour if needed |
| Dough cracks when rolling | Dough is too cold or dry | Let dough sit a few minutes, add a bit of water |
| Crust shrinks while baking | Overworked dough or too warm when baked | Handle dough gently, chill before baking |
| Crust is tough | Mixed or kneaded dough too much | Mix lightly, do not knead |
Why Is Butter Important In Pie Crust?
Butter makes pie crust soft and flaky. It melts during baking. This creates small air pockets. These pockets make the crust light and crunchy.
Using cold butter helps keep dough cool. When baking, butter melts slowly. This makes layers in the crust. Other fats like shortening can work, but butter gives best flavor.
What If You Don’t Have Pastry Cutter?
You can use two forks to cut butter into flour. Or use your fingers fast. Rub butter between your fingers quickly to avoid warming. It may take longer but works fine.
How To Use Your Pie Crust
Once you have your dough in the pie pan, you can add any filling. Sweet fillings like apples, cherries, or pumpkin work well. Savory fillings such as chicken or vegetables also taste great.
Bake as your recipe says. Some recipes want the crust baked first (blind baking). Others bake crust with filling. Make sure to watch crust color. It should be golden brown.
Storing Pie Crust Dough
- If not using right away, wrap dough tightly.
- Keep in fridge for up to 2 days.
- For longer storage, freeze dough up to 3 months.
- Thaw dough in fridge before rolling.
Final Thoughts
Making pie crust without a food processor is simple. You only need a few ingredients and some patience. Mixing by hand can be fun and rewarding. The key is to keep ingredients cold and work gently.
With practice, you will bake pies with tasty, flaky crusts. Don’t worry about small mistakes. Each pie will teach you something new. Enjoy baking and sharing your delicious pies with family and friends.
Frequently Asked Questions
Can I Make Pie Crust Without A Food Processor?
Yes, you can easily make pie crust using a fork, pastry blender, or your hands. The key is to keep the butter cold and work quickly.
What Tool Replaces A Food Processor For Pie Crust?
A pastry cutter or two forks work well to mix flour and butter. You can also use your fingers to pinch the ingredients together.
How To Keep Pie Crust Flaky Without A Processor?
Keep butter cold and mix it quickly with flour. Avoid overworking the dough to keep it tender and flaky.
Can I Use A Blender To Make Pie Crust?
A blender is not ideal as it can overwork the dough. It may melt the butter, making the crust less flaky.
Leave a Reply