

The allure of homemade ice cream is undeniable. Imagine scooping a perfectly creamy, rich dessert that you crafted yourself, free from preservatives and artificial flavors, tailored precisely to your taste. While the idea might seem daunting, particularly for those without an ice cream maker, the reality is that creating delicious ice cream at home is both achievable and incredibly rewarding.
From classic vanilla bean to adventurous salted caramel pretzel, the possibilities are as endless as your imagination.
This guide will demystify the process, breaking down the essential steps, equipment, and techniques needed to produce scoopable perfection. We’ll explore the fundamental custard base, simpler no-churn methods, and the nuances that elevate homemade ice cream from good to extraordinary.
Whether you’re a seasoned baker or a curious beginner, get ready to embark on a delightful journey into the world of artisanal frozen treats.
Key Takeaways
- Master the Base: Understanding the core ingredients (dairy, sugar, eggs, flavorings) is crucial for both churned and no-churn methods.
- Custard vs. Philadelphia Style: Custard bases (with eggs) offer richer texture and flavor, while Philadelphia-style (no eggs) is quicker and lighter.
- Churning is Key (for some methods): An ice cream maker churns the mixture while freezing, incorporating air and preventing large ice crystals for a smooth texture.
- No-Churn Magic: Techniques like condensed milk and whipped cream create creamy ice cream without a machine by incorporating air and preventing ice crystal formation.
- Flavor Infusion: Fresh ingredients, extracts, and add-ins are where you can truly personalize your ice cream.
- Freezing and Storage: Proper chilling and storage are vital to maintain texture and prevent freezer burn.
- Troubleshooting: Common issues like iciness or graininess can often be resolved with simple adjustments.
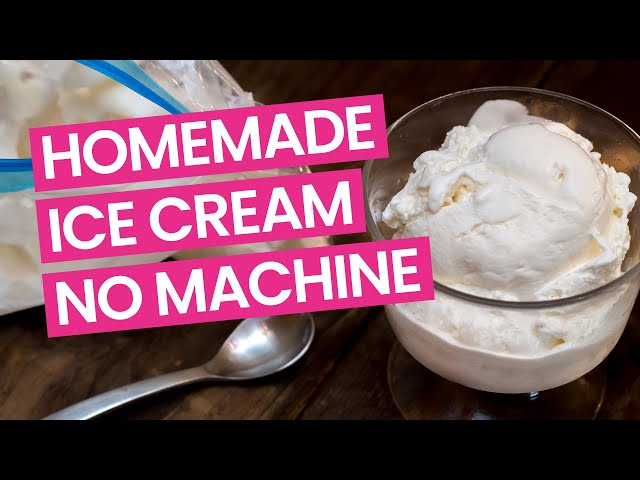
The Science And Art Of Ice Cream Making
At its heart, ice cream is a delicate balance of fat, sugar, water, and air, frozen to a specific temperature. The magic happens when these components interact to create a smooth, creamy texture that melts in your mouth. Understanding these interactions is the first step to mastering homemade ice cream.
Understanding The Core Ingredients
- Dairy: The foundation of most ice creams. A combination of heavy cream and whole milk is typically used. Heavy cream provides richness and a smooth mouthfeel due to its high fat content (usually 30-40%). Whole milk contributes liquid and some fat, but less richness than cream. Skim milk or lower-fat options can be used, but they often result in a less creamy, more icy texture.
- Sugar: Not just for sweetness, sugar plays a critical role in texture. It lowers the freezing point of the mixture, preventing it from freezing into a solid block of ice. This allows for a softer, more scoopable consistency. Different sugars, like granulated sugar, corn syrup, or honey, can influence texture and flavor. Corn syrup, in particular, is excellent at inhibiting ice crystal formation, leading to a smoother product.
- Eggs (Custard Base): For traditional French-style ice cream, egg yolks are whisked into the dairy and sugar mixture and then gently heated. The lecithin in the yolks acts as an emulsifier, helping to bind the fat and water molecules, creating a stable, smooth, and rich texture. The cooked yolks also contribute to the characteristic golden hue and a subtle, complex flavor.
- Stabilizers and Emulsifiers: Commercial ice creams often use stabilizers (like guar gum or carrageenan) and emulsifiers (like mono- and diglycerides) to improve texture, prevent ice crystal growth, and extend shelf life. While not strictly necessary for home cooks, ingredients like egg yolks, corn syrup, or even a touch of alcohol can perform similar functions.
The Role Of Fat And Ice Crystals
Fat is essential for that luxurious, creamy mouthfeel. It coats ice crystals, preventing them from clumping together and creating a smoother texture. Higher fat content generally leads to a richer, creamier ice cream.
Ice crystals are the nemesis of smooth ice cream. Water in the dairy and other liquids will inevitably freeze. The goal is to keep these ice crystals as small as possible. This is achieved through several means:
- Rapid Freezing: The faster the mixture freezes, the smaller the ice crystals will be. This is where an ice cream maker excels.
- Agitation (Churning): Continuously stirring the mixture as it freezes incorporates air and scrapes the sides of the container, breaking up ice crystals as they form.
- Sugar Content: As mentioned, sugar lowers the freezing point, meaning less water freezes solid at typical freezer temperatures, resulting in a softer product.
- Fat and Solids: Fat and other dissolved solids (like milk proteins and sugars) interfere with the formation of large ice crystals.
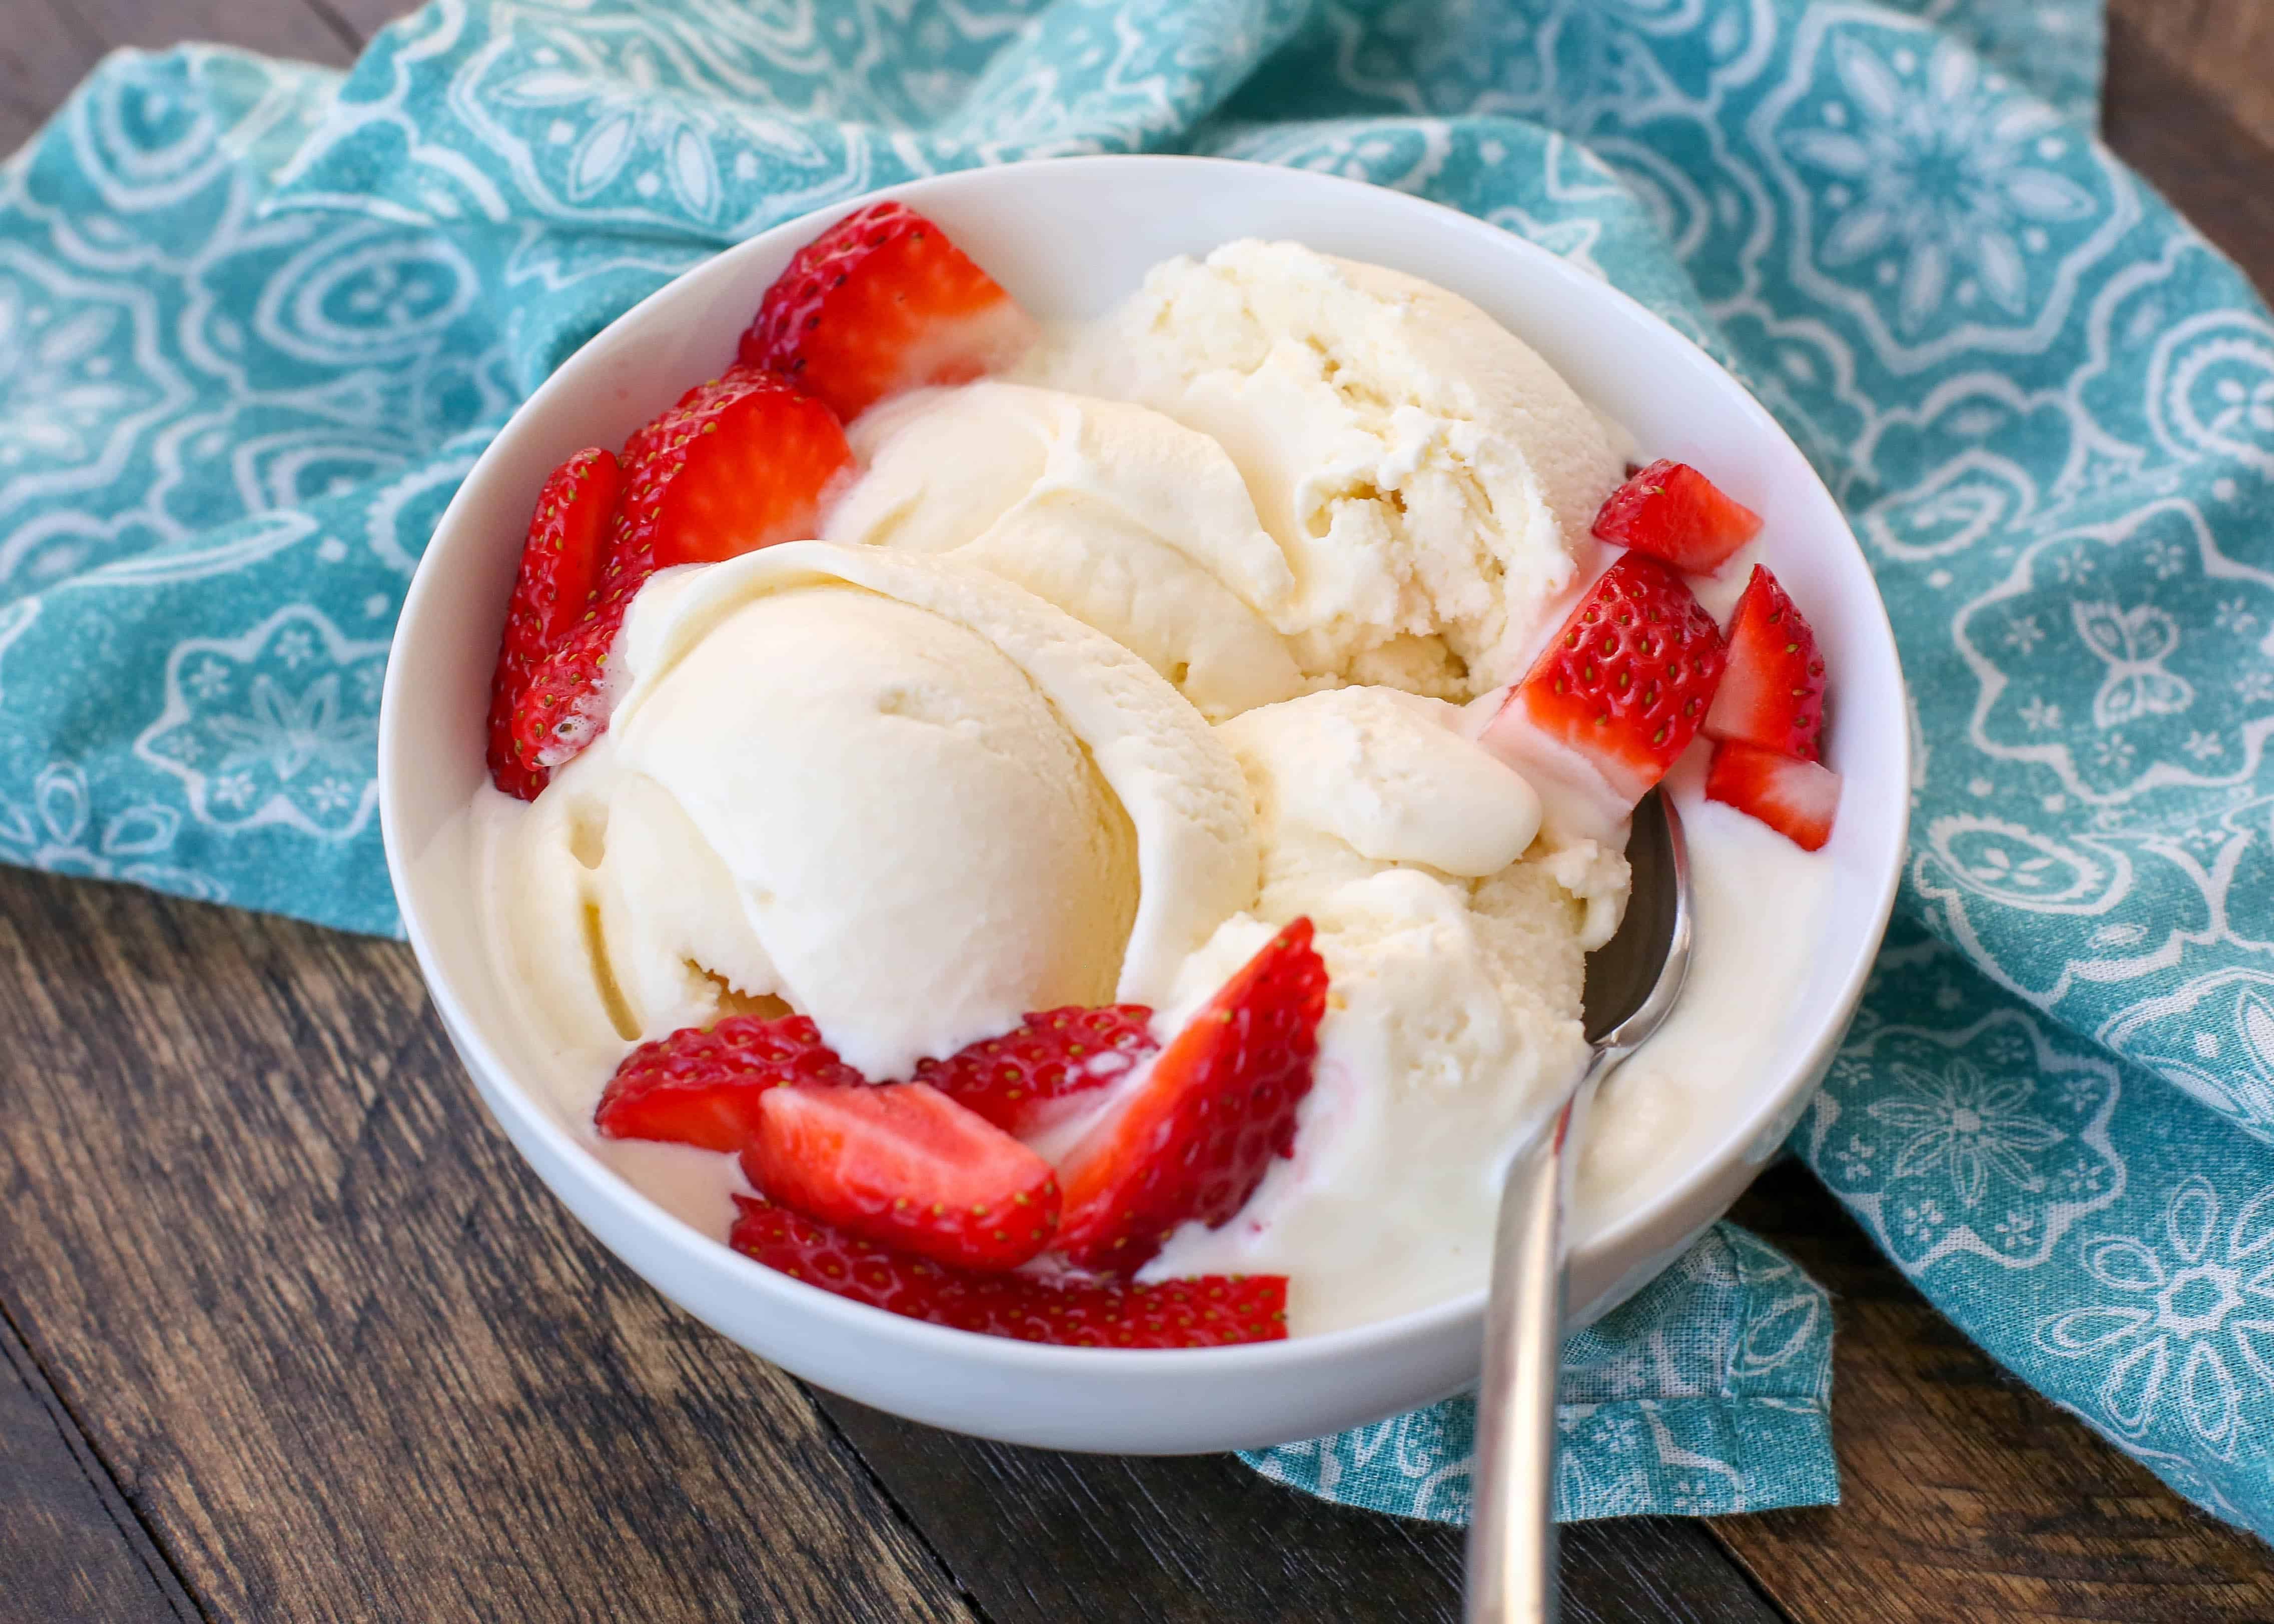
Essential Equipment For Homemade Ice Cream
While you can make ice cream without a dedicated machine, having the right tools can significantly improve the process and the final product.
The Ice Cream Maker: A Game Changer
The most significant piece of equipment is, of course, an ice cream maker. There are several types, each with its pros and cons:
- Freezer Bowl (Compressor) Models: These machines have a built-in freezing unit, meaning you don’t need to pre-freeze a bowl. They are convenient and allow for multiple batches back-to-back. Examples include the Cuisinart ICE-70 Electronic Ice Cream Maker or the Breville BCI600XL Smart Scoop Ice Cream Maker. They tend to be more expensive but offer the most flexibility.
- Freezer Bowl (Manual) Models: These are the most common and affordable type. They consist of a double-walled bowl filled with a freezing solution that must be stored in your freezer for at least 12-24 hours before use. Once frozen, you pour your ice cream base into the bowl, and the machine churns and freezes it. Brands like Cuisinart and KitchenAid (with a specific attachment) offer these. The main drawback is the need for pre-planning and the limited capacity per batch if you want to make multiple flavors.
- Ice and Salt Method: This is the most traditional and requires no special machine, just a container (like a metal bowl or coffee can), ice, and rock salt. The salt lowers the freezing point of the ice, creating a super-cold brine that freezes the ice cream base as you agitate it. It’s labor-intensive and can be messy, but it’s a fun, hands-on approach.
Other Helpful Tools
Beyond the ice cream maker, a few other kitchen staples will make your ice cream journey smoother:
- Saucepan: For heating milk and cream, especially for custard bases. A heavy-bottomed saucepan prevents scorching.
- Whisk: Essential for incorporating sugar, eggs, and ensuring a smooth base.
- Fine-Mesh Sieve: Crucial for straining custard bases to remove any bits of cooked egg or impurities, ensuring a silky-smooth texture.
- Heatproof Spatula: For stirring the base and scraping down the sides of the saucepan.
- Measuring Cups and Spoons: Accuracy is key, especially with sugar and liquids.
- Airtight Containers: For storing your finished ice cream in the freezer. Insulated containers are best for preventing ice crystals.
- Immersion Blender: While not essential, an immersion blender can be useful for ensuring a perfectly smooth base before chilling, especially if you’re not using eggs. For those who frequently blend ingredients for recipes, something like the Ninja Foodi vs Wantjoin Professional Blender comparison might be relevant for choosing a versatile kitchen tool.

The Custard Base: Richness And Tradition
The classic French-style ice cream base, often referred to as a custard base, relies on egg yolks to create an incredibly rich, smooth, and emulsified frozen dessert. This method requires a bit more care but yields a superior texture and depth of flavor.
Ingredients
- 2 cups heavy cream
- 1 cup whole milk
- 3/4 cup granulated sugar, divided
- 5 large egg yolks
- 1 teaspoon vanilla extract (or other flavoring)
- Pinch of salt
Step-by-step Method
- Heat the Dairy: In a medium saucepan, combine the heavy cream, whole milk, and about half of the sugar (6 tablespoons). Heat over medium heat, stirring occasionally, until the mixture is steaming and small bubbles form around the edges. Do not let it boil. Remove from heat.
- Temper the Yolks: In a separate medium bowl, whisk together the egg yolks and the remaining sugar (6 tablespoons) until pale yellow and slightly thickened. This process is called tempering, and it gently raises the temperature of the egg yolks without cooking them into scrambled eggs.
- Combine and Cook: Slowly ladle about half a cup of the hot cream mixture into the egg yolk mixture while whisking constantly. This further tempers the yolks. Then, pour the tempered yolk mixture back into the saucepan with the remaining cream mixture.
- Cook the Custard: Return the saucepan to medium-low heat. Cook, stirring constantly with a heatproof spatula or wooden spoon, until the custard thickens enough to coat the back of the spatula. This typically takes about 5-10 minutes. You can test this by running your finger through the custard on the spatula; if it leaves a clear trail, it’s ready. Crucially, do not let the custard boil, or the eggs will scramble. The internal temperature should reach around 170-175°F (77-79°C).
- Strain and Chill: Immediately remove the custard from the heat and strain it through a fine-mesh sieve into a clean bowl. This removes any potential bits of cooked egg and ensures a super-smooth texture. Stir in the vanilla extract and a pinch of salt.
- Chill Thoroughly: Cover the surface of the custard directly with plastic wrap (to prevent a skin from forming) and refrigerate for at least 4 hours, or preferably overnight. The mixture must be thoroughly chilled before churning; otherwise, it won’t freeze properly in the ice cream maker.
Pro Tip: Flavor Infusion
While the custard is chilling, you can infuse additional flavors. For example, to make vanilla bean ice cream, split a vanilla bean, scrape out the seeds, and add both the seeds and the pod to the cream mixture in step 1.
Remove the pod before tempering the yolks. For fruit flavors, you might purée fruit and add it after the custard has chilled, or steep fruit (like berries or citrus zest) in the cream mixture during heating.
The Philadelphia-style Base: Simplicity And Speed
For those seeking a quicker, egg-free option, the Philadelphia-style ice cream base is the way to go. It relies solely on cream, milk, sugar, and flavorings. While it might lack some of the richness of a custard base, it’s incredibly versatile and allows the primary flavors to shine through.
Ingredients
- 2 cups heavy cream
- 1 cup whole milk
- 3/4 cup granulated sugar
- 1 teaspoon vanilla extract (or other flavoring)
- Pinch of salt
Step-by-step Method
- Combine Ingredients: In a medium bowl, whisk together the heavy cream, whole milk, sugar, vanilla extract, and salt until the sugar is completely dissolved. Ensure there are no sugar granules at the bottom of the bowl.
- Chill Thoroughly: Cover the bowl and refrigerate the mixture for at least 2 hours, or until thoroughly chilled. While this base doesn’t require cooking, chilling it is essential for proper freezing in the ice cream maker. Cold ingredients freeze faster and result in smaller ice crystals.
Variations And Enhancements
- Fruit Purees: For fruit-flavored ice cream, purée fresh or frozen fruit (about 1.5 cups) and add it to the chilled base. Blend until smooth. Be aware that high-water-content fruits might make the ice cream icier; consider reducing the fruit purée slightly or adding a tablespoon of corn syrup to the base to help with texture.
- Chocolate: Melt 4-6 ounces of good-quality dark or semi-sweet chocolate. Whisk it into the warm cream and milk mixture in step 1 (before chilling) until fully incorporated. Alternatively, whisk in 1/2 cup of unsweetened cocoa powder with the sugar before adding the liquids.
- Coffee: Dissolve 2-3 tablespoons of instant espresso powder in the warm milk and cream mixture.
The No-churn Method: No Machine Required
The beauty of no-churn ice cream lies in its simplicity and accessibility. These recipes typically use sweetened condensed milk and whipped cream to achieve a creamy texture without the need for an ice cream maker. The condensed milk provides sweetness and prevents excessive ice crystal formation, while the whipped cream incorporates air, giving the ice cream its characteristic lightness.
Classic No-churn Vanilla Ice Cream
This is the foundational recipe for most no-churn creations.
Ingredients
- 1 (14-ounce) can sweetened condensed milk
- 2 cups heavy cream, chilled
- 1 teaspoon vanilla extract
- Pinch of salt
Step-by-step Method
- Whip the Cream: In a large, chilled bowl, whip the cold heavy cream using an electric mixer (or a whisk and some serious arm power) until stiff peaks form. Be careful not to over-whip, or you’ll end up with butter.
- Combine Wet Ingredients: In a separate bowl, whisk together the sweetened condensed milk, vanilla extract, and salt until smooth.
- Fold Together: Gently fold about one-third of the whipped cream into the condensed milk mixture to lighten it. Then, carefully fold in the remaining whipped cream until just combined. Avoid overmixing, as this will deflate the whipped cream and result in a denser ice cream.
- Freeze: Pour the mixture into a freezer-safe container (a loaf pan works well). Cover tightly with plastic wrap, pressing it directly onto the surface of the ice cream to prevent ice crystals, and then cover with a lid or aluminum foil.
- Freeze: Freeze for at least 6 hours, or until firm.
Adding Mix-ins
The beauty of no-churn ice cream is how easily you can incorporate mix-ins. Fold them in during step 3, just before freezing.
- Chocolate Chips: 1 cup
- Cookie Dough Chunks: 1 cup (use edible cookie dough)
- Fruit Swirls: Dollop fruit purée (like raspberry or strawberry) over the mixture in the pan and swirl gently with a knife.
- Nuts: Toasted pecans, walnuts, or almonds add a delightful crunch.
Churning Your Ice Cream: The Magic Of The Machine
Once your base is prepared and thoroughly chilled, it’s time for the main event: churning. This process is where the ice cream maker transforms your liquid base into a frozen delight.
Preparing Your Ice Cream Maker
- Freezer Bowl Models: Ensure the bowl has been in the freezer for the recommended time (usually 12-24 hours). It should be frozen solid. If it’s not cold enough, your ice cream won’t freeze properly.
- Compressor Models: These are ready to go, but ensure the compressor has had time to reach its optimal freezing temperature before you start churning.
The Churning Process
- Assemble the Machine: Follow the manufacturer’s instructions for assembling your ice cream maker.
- Add the Base: With the machine running (the dasher or paddle should be moving), slowly pour the chilled ice cream base into the freezer bowl through the designated opening. Pouring into a moving machine helps incorporate air from the start.
- Churn: Let the machine run until the ice cream reaches a soft-serve consistency. This typically takes 20-30 minutes, depending on the machine and the base recipe. The mixture will thicken considerably.
- Add Mix-Ins (Optional): During the last 5 minutes of churning, add any desired mix-ins like chocolate chips, nuts, or cookie pieces. This prevents them from getting pulverized by the churning paddle.
- Transfer for Hardening: Once churned to the desired consistency, the ice cream will be quite soft. Use a spatula to transfer it to a pre-chilled, airtight freezer container.
- Harden: Cover the container tightly (pressing plastic wrap directly onto the surface is recommended) and place it in the coldest part of your freezer for at least 2-4 hours to harden to a scoopable consistency. This final freezing stage is called ripening.
Example: Churning A Vanilla Custard Base
Let’s say you’ve prepared the vanilla custard base. After chilling it overnight, you retrieve your pre-frozen ice cream maker bowl from the freezer. You assemble the machine, turn it on, and slowly pour the cold custard base into the churning bowl.
The mixture begins to thicken. After about 25 minutes, it has the consistency of thick pudding. You add 1 cup of mini chocolate chips and let it churn for another 3 minutes. Then, you scrape the thick, delicious ice cream into a chilled loaf pan, press plastic wrap onto the surface, cover, and freeze for 4 hours.
Voila! Homemade chocolate chip vanilla ice cream.
Flavor Combinations And Creative Add-ins
The real fun of homemade ice cream is experimenting with flavors. Don’t be afraid to get creative!
Classic Combinations
- Mint Chocolate Chip: Steep fresh mint leaves in the cream mixture, strain, and add green food coloring (optional) and chocolate chips.
- Strawberry: Purée fresh strawberries and add to a Philadelphia-style base or fold into a chilled custard base.
- Coffee: Dissolve instant espresso powder in the warm milk/cream or add finely ground coffee beans to steep.
- Cookies and Cream: Fold in crushed Oreos or chocolate sandwich cookies at the end of churning.
Advanced Flavor Techniques
- Boozy Ice Cream: Alcohol lowers the freezing point, so you can add a tablespoon or two of liqueur (like Kahlua, Baileys, or rum) to your base. This not only adds flavor but also results in a softer, more scoopable ice cream. Be mindful not to add too much, or it won’t freeze properly.
- Brown Butter Pecan: Brown the butter before adding it to your base for a nutty, rich flavor. Toast pecans and add them at the end of churning.
- Salted Caramel: Swirl homemade or good-quality store-bought caramel sauce into the ice cream during the last few minutes of churning or after transferring it to the storage container. A sprinkle of sea salt on top enhances the flavor.
- Spices: Add cinnamon, nutmeg, cardamom, or ginger to your base during the heating process for warming, comforting flavors.
Texture Enhancers (mix-ins)
- Chocolate Chunks or Chips: Dark, milk, white, or chunks of your favorite candy bar.
- Nuts: Toasted walnuts, pecans, almonds, pistachios.
- Cookies: Crushed Oreos, chocolate chip cookie dough pieces, crumbled shortbread.
- Fruit: Fresh berries, dried cherries, candied ginger.
- Other: Marshmallows, brownie bits, shredded coconut, pretzels.
Troubleshooting Common Ice Cream Problems
Even with the best intentions, you might encounter a few hiccups. Here’s how to address them.
Problem: Ice Cream Is Too Icy
This is the most common issue. It means large ice crystals have formed.
- Cause: Insufficient fat or solids, base not cold enough before churning, machine not cold enough, too much water content (from fruit, for example), or freezer door opened too frequently.
- Solution:
- Ensure you’re using adequate fat (heavy cream and whole milk).
- Chill the base thoroughly (at least 4 hours, preferably overnight).
- Make sure your ice cream maker bowl is completely frozen.
- For no-churn, ensure proper ratios of condensed milk and whipped cream.
- Consider adding a small amount of corn syrup (1-2 tablespoons) or a tablespoon of vodka to the base, as these help inhibit ice crystal formation.
- Store ice cream in the coldest part of your freezer.
Problem: Ice Cream Is Too Hard
This usually means it’s frozen too solid.
- Cause: Too little sugar or alcohol, or it’s been in the freezer too long without being disturbed.
- Solution:
- Review your sugar quantity. If you reduced it significantly, add a bit more next time.
- Adding a tablespoon or two of alcohol (like vodka or a liqueur) can help keep it softer.
- If it’s just too hard from being in the freezer, let it sit on the counter for 5-10 minutes before scooping.
Problem: Ice Cream Is Grainy
This can happen with custard bases if the eggs are overcooked or not strained properly.
- Cause: Scrambled egg bits in custard base, or sugar not fully dissolved.
- Solution:
- For custard bases, ensure you temper the eggs slowly and cook the custard gently over low heat, never letting it boil. Always strain the custard through a fine-mesh sieve.
- For
Leave a Reply