
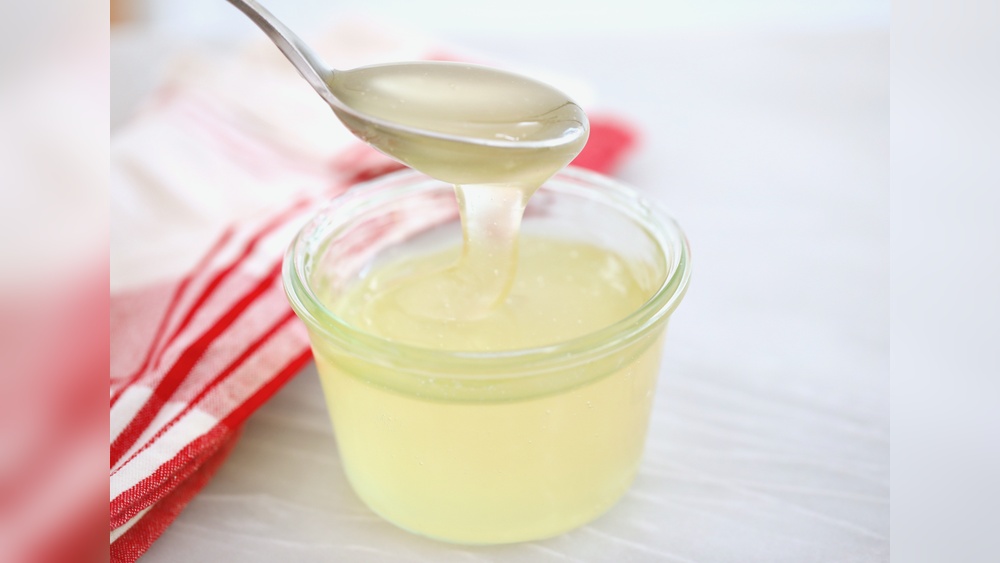
Making your own corn syrup at home might seem like a daunting culinary feat, often reserved for professional bakers or those with a pantry stocked with specialized ingredients. However, the reality is that this common sweetener, essential for achieving smooth icings, chewy candies, and wonderfully moist baked goods, can be surprisingly straightforward to produce in your own kitchen. With a few basic pantry staples and a bit of patience, you can bypass the grocery store aisle and create a versatile syrup tailored to your exact needs.
The process of making corn syrup at home primarily involves breaking down starches from corn into simpler sugars. This is achieved through a controlled heating process, often with the help of an acid or an enzyme. While commercial production utilizes sophisticated industrial methods, the home cook can replicate the fundamental principles to yield a comparable product.
This guide will walk you through the essential steps, ingredients, and considerations for successfully crafting your own corn syrup, empowering you to elevate your baking and candy-making endeavors with a homemade touch.
Key Takeaways
- Homemade corn syrup can be made using basic ingredients like cornstarch, water, and an acid (like cream of tartar or lemon juice).
- The process involves carefully heating a mixture to break down starches into sugars, requiring attention to temperature and consistency.
- Different ratios of ingredients and cooking times can yield syrups with varying sweetness and viscosity, akin to light and dark corn syrups.
- Proper storage is crucial to maintain the quality and shelf life of homemade corn syrup.
- While achievable at home, it’s important to understand the science behind the process and potential pitfalls.
Understanding The Science Behind Corn Syrup
Corn syrup is essentially a liquid sweetener made from the starch of corn. Its primary function in recipes is to prevent sugar crystallization, which is why it’s so vital for achieving smooth textures in candies and frostings. The magic behind corn syrup lies in the process of hydrolysis, where water molecules are used to break down complex carbohydrate chains (starches) into simpler sugars.
Commercial corn syrup production typically uses enzymes like amylase to efficiently convert cornstarch into glucose, maltose, and other saccharides. However, for home cooks, a more accessible method involves using an acid to catalyze this breakdown. Acids like cream of tartar (potassium bitartrate) or lemon juice (citric acid) work by lowering the pH of the mixture, making it easier for water to attack the starch molecules.
The resulting syrup contains a mixture of sugars. Glucose is the most basic sugar, providing sweetness. Maltose is a disaccharide, meaning it’s made of two glucose units. The presence of these different sugars, and crucially, the unconverted starch, is what gives corn syrup its unique properties. Unconverted starch molecules interfere with the neat arrangement of sugar crystals, thus preventing graininess. The longer the hydrolysis process, the more starch is broken down, leading to a sweeter and thinner syrup. Conversely, a shorter cooking time leaves more unconverted starch, resulting in a thicker syrup with less intense sweetness, closer to commercial light corn syrup.
Essential Ingredients For Homemade Corn Syrup
Creating corn syrup at home requires only a few common ingredients, making it an accessible project for most bakers. The quality of your ingredients can subtly influence the final product, so opting for fresh, reliable sources is always a good practice.
Cornstarch
The foundation of your homemade corn syrup is cornstarch. This is not to be confused with cornmeal or corn flour. Cornstarch is a fine, powdery starch derived from the endosperm of the corn kernel. It’s a pure carbohydrate, and its ability to thicken when heated with liquid is key to the process. Ensure you are using pure cornstarch, free from any added flours or seasonings.
Water
Water acts as the solvent and the medium for the hydrolysis reaction. It’s essential to use distilled or filtered water if possible. Tap water can contain minerals that might interfere with the clarity or flavor of the syrup, especially in delicate candy recipes. While regular tap water will work in a pinch, purified water offers a cleaner result.
Acid
The crucial ingredient that facilitates the breakdown of starch into sugars is an acid. The most common and readily available options for home cooks are:
- Cream of Tartar: This is a dry, powdered acid that is a byproduct of winemaking. It’s very effective and provides a neutral flavor. A small amount goes a long way.
- Lemon Juice: Freshly squeezed lemon juice provides citric acid. It’s a good alternative if cream of tartar isn’t available, but it can impart a very subtle lemony flavor to the final syrup.
- White Vinegar: While less common due to its stronger flavor profile, white vinegar can also be used. However, its distinct taste is more likely to be noticeable in the finished product.
The choice of acid can slightly alter the flavor profile, but its primary role is chemical transformation.
Sugar (optional, For Specific Types)
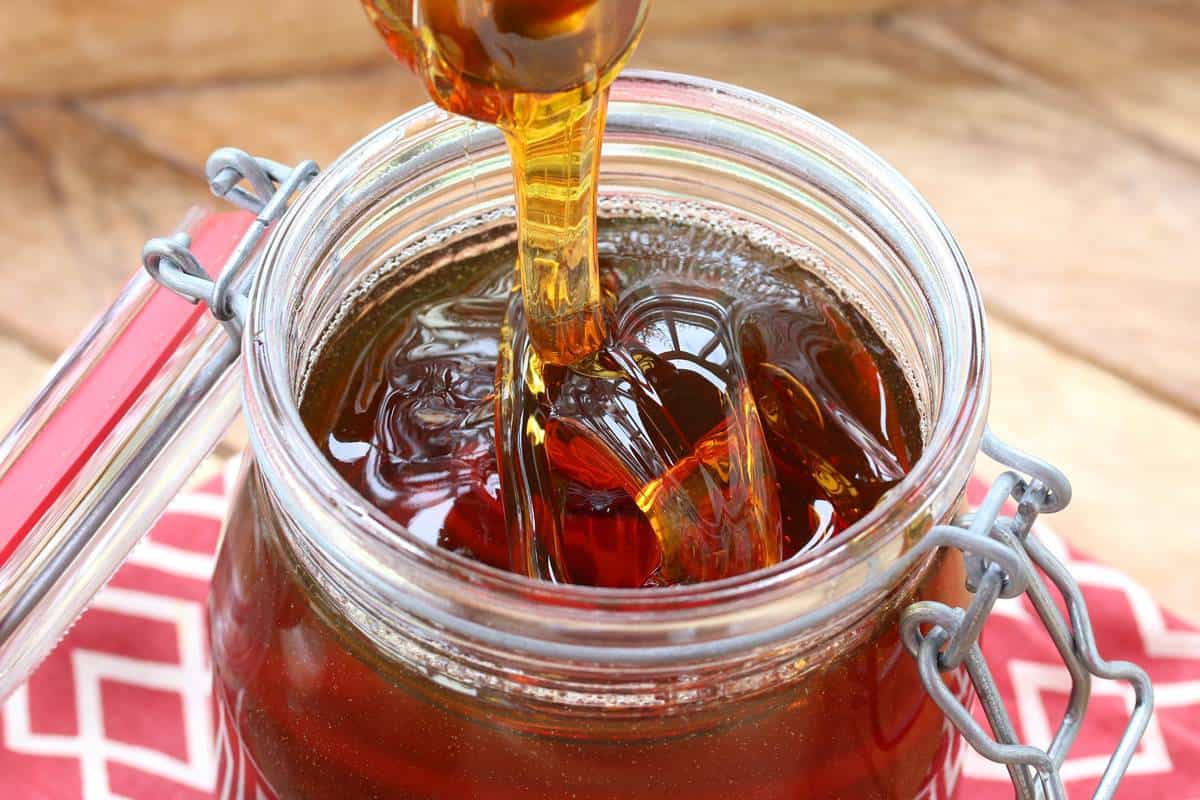
While the process primarily converts starch to sugar, some recipes for homemade corn syrup may include a small amount of granulated sugar (like white sugar or even brown sugar for a darker syrup) added at the beginning. This can contribute to the overall sweetness and texture. For a syrup that closely mimics commercial light corn syrup, sugar is often omitted, relying solely on the sugars derived from the cornstarch. If you’re aiming for a “dark” corn syrup equivalent, you might incorporate brown sugar or molasses.
The Basic Homemade Corn Syrup Recipe
This recipe focuses on creating a light corn syrup, similar to what you’d find in most grocery stores. It’s versatile and suitable for a wide range of applications.
Yields: Approximately 2 cups
Prep time: 5 minutes
Cook time: 45-60 minutes
Ingredients:
- 3 cups Water (preferably distilled or filtered)
- 1 ½ cups Cornstarch
- 1 ½ teaspoons Cream of Tartar (or 2 tablespoons fresh lemon juice)
Equipment:
- Heavy-bottomed saucepan (3-4 quart)
- Whisk
- Candy thermometer
- Heatproof spatula or spoon
- Airtight container for storage
Instructions:
- Combine Ingredients: In the heavy-bottomed saucepan, whisk together the water and cornstarch until the cornstarch is completely dissolved and no lumps remain. This step is crucial for a smooth syrup.
- Add Acid: Stir in the cream of tartar (or lemon juice). Ensure it’s evenly distributed.
- Initial Heating: Place the saucepan over medium-low heat. Whisk constantly as the mixture begins to thicken. It will gradually transform from a milky liquid to a translucent gel.
- Simmer and Cook: Once the mixture has thickened significantly and is translucent, reduce the heat to low. You want to maintain a very gentle simmer, just a few small bubbles breaking the surface. Avoid boiling vigorously, as this can scorch the syrup or break down the sugars too quickly.
- Monitor Temperature and Consistency: Continue to cook, stirring frequently with a heatproof spatula or spoon, scraping the bottom and sides of the pan to prevent sticking and scorching. A candy thermometer is highly recommended here. You are looking for the syrup to reach a temperature between 230°F (110°C) and 240°F (115°C). This process can take anywhere from 45 to 60 minutes, sometimes longer, depending on your stove and pan. The syrup will become progressively clearer and thicker as it cooks.
- Check for Doneness: The syrup is ready when it has a clear, slightly viscous consistency. A good test is to drop a small amount onto a cold plate; it should thicken as it cools but not become solid. Another indicator is the temperature, aiming for that 230-240°F range.
- Cooling: Once the desired temperature and consistency are reached, remove the saucepan from the heat immediately. Let the syrup cool in the pan for about 10-15 minutes, stirring occasionally.
- Strain (Optional): For an exceptionally smooth syrup, you can strain it through a fine-mesh sieve lined with cheesecloth into a clean bowl or jar. This removes any tiny bits of undissolved starch or potential cooked-on particles.
- Store: Pour the cooled syrup into an airtight container. Allow it to cool completely at room temperature before sealing and refrigerating.
Pro Tip:
The patience during the simmering stage is key. Rushing the process by using higher heat can lead to a burnt flavor or a syrup that doesn’t achieve the correct consistency. Monitor the temperature closely with a candy thermometer.
Variations: Mimicking Light And Dark Corn Syrup
The basic recipe provides a foundation, but you can adjust it to create variations that mimic the different types of corn syrup available commercially.
Mimicking Light Corn Syrup
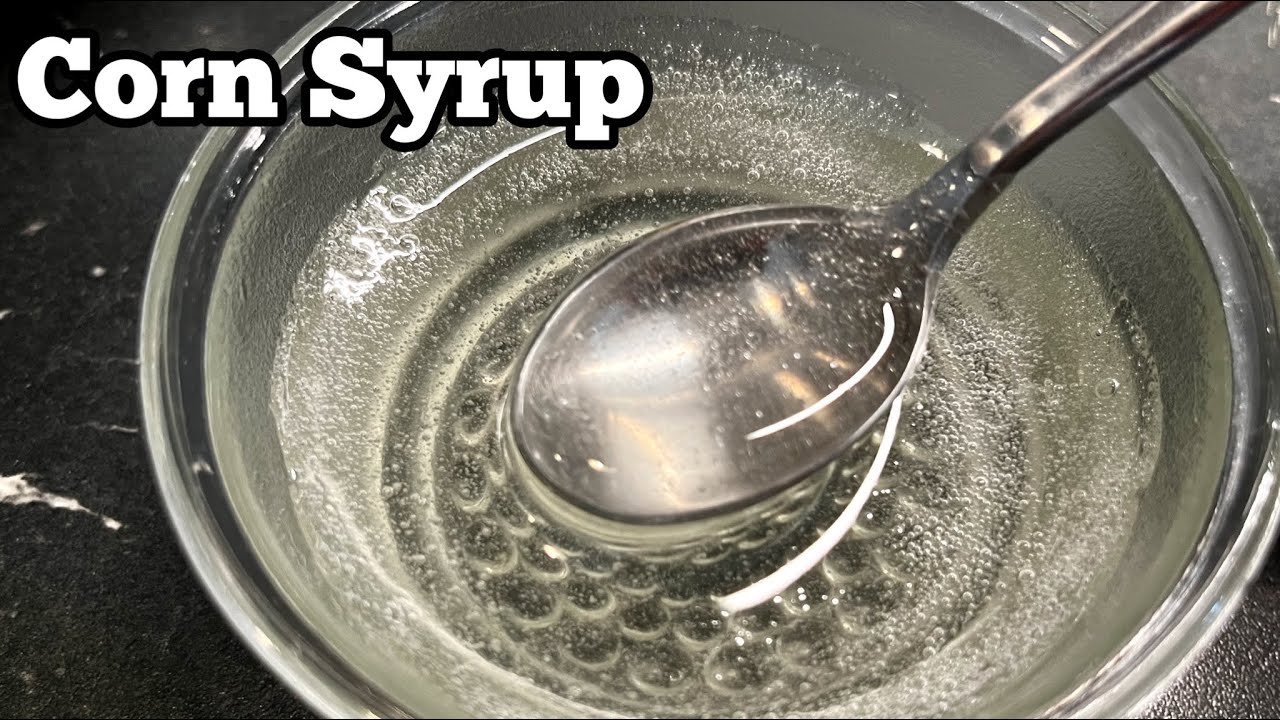
The recipe detailed above is designed to produce a syrup very similar to light corn syrup. This is the most common type, characterized by its relatively mild sweetness and clear, viscous texture. It’s made with a high proportion of glucose and has undergone sufficient hydrolysis to minimize starch content. To ensure your homemade version is closest to commercial light corn syrup:
- Use Cream of Tartar: It provides a neutral flavor profile.
- Cook to the Higher End of the Temperature Range: Aim for 235-240°F (113-115°C) to ensure maximum starch conversion for a thinner, sweeter syrup.
- Strain Thoroughly: This guarantees clarity and smoothness.
Creating A Dark Corn Syrup Equivalent
Dark corn syrup gets its color and distinct molasses-like flavor from the addition of refiners’ syrup or molasses. To achieve a similar effect at home:
- Replace Some Water with Molasses: For instance, you could use 2 ½ cups of water and ½ cup of unsulfured molasses.
- Add Brown Sugar: Incorporating brown sugar along with the cornstarch and water will also contribute to color and a richer flavor. You might use 1 cup water, ½ cup granulated sugar, and ½ cup packed light brown sugar.
- Adjust Acid: You may need slightly more acid if using brown sugar, as it can sometimes buffer the acidity.
- Cooking Time: The cooking time might be slightly shorter as the added sugars contribute to viscosity. Focus on achieving a deep amber color and a temperature around 230-235°F (110-113°C).
Example Comparison:
| Feature | Homemade Light Syrup Equivalent | Homemade Dark Syrup Equivalent | Commercial Light Corn Syrup | Commercial Dark Corn Syrup |
|---|---|---|---|---|
| **Base** | Cornstarch, Water, Acid | Cornstarch, Water, Acid, Molasses/Brown Sugar | Corn Syrup (HFCS), Water, Acid | Corn Syrup, Refiners’ Syrup/Molasses |
| **Color** | Clear to pale yellow | Amber to dark brown | Clear to pale yellow | Dark brown |
| **Flavor** | Neutral, mildly sweet | Rich, molasses notes | Mildly sweet | Strong molasses flavor |
| **Sweetness** | High | Moderate to High | High | Moderate |
| **Viscosity** | Medium to Thick | Medium to Thick | Medium to Thick | Medium to Thick |
| **Primary Use** | Candies, frostings, baking | Gingerbread, baked beans, glazes | Candies, frostings, baking | Baking, glazes, marinades |
Using Enzymes (advanced Method)
For those interested in a more scientific approach, enzymatic conversion can be used. This method employs enzymes like amylase to break down starch into sugars. It offers greater control over the sugar profile (e.g., producing more maltose for specific textures). However, it requires obtaining food-grade enzymes and precise temperature control, making it less accessible for the average home cook compared to the acid method. This method is closer to industrial production but is generally not recommended for beginners due to the specialized nature of the ingredients and processes.
The Process Of Starch Hydrolysis Explained
At its core, making corn syrup is about controlling the hydrolysis of starch. Starch is a polysaccharide, a long chain of glucose units linked together. To make syrup, these long chains need to be broken down into shorter chains (dextrins) and individual sugar molecules (glucose, maltose).
Role Of Acid
The acid in the recipe, whether cream of tartar or citric acid from lemon juice, acts as a catalyst. It lowers the pH of the water, making the water molecules more reactive. These water molecules then attack the bonds holding the glucose units together in the starch chains. The process looks something like this:
Starch (long chain) + Water –(Acid Catalyst)–> Shorter Chains (Dextrins) + Sugars (Glucose, Maltose)
The longer the mixture is heated under acidic conditions, the more bonds are broken, and the more starch is converted into simpler sugars. This directly impacts the syrup’s sweetness and texture.
Temperature And Time Control
Temperature is a critical factor. The initial heating phase, where you whisk cornstarch into water, allows the starch granules to absorb water and swell. This is called gelatinization. Once gelatinized, the starch is more susceptible to hydrolysis.
As the mixture heats further, the acid begins its work. The target temperature range of 230°F to 240°F (110°C to 115°C) is crucial. Within this range, the hydrolysis reaction proceeds efficiently without causing excessive caramelization (which would darken the syrup and add burnt flavors) or burning the sugars.
- Below 230°F: The hydrolysis will be slow, leaving more unconverted starch. This results in a thicker syrup but less sweetness.
- Above 240°F: You risk caramelization and potential scorching, leading to off-flavors and a darker color than desired for light corn syrup.
The time spent within this temperature range dictates the extent of starch conversion. A shorter time (around 45 minutes) will result in a syrup with more dextrins and unconverted starch, leading to a thicker consistency and less intense sweetness. A longer time (closer to 60 minutes or more) will break down more starch into simple sugars, yielding a sweeter, potentially thinner syrup (though viscosity also increases with sugar concentration).
Consistency And Viscosity
The final viscosity (thickness) of the corn syrup is a result of several factors:
- Sugar Concentration: As water evaporates during cooking, the concentration of sugars increases, making the syrup thicker.
- Type of Sugars: While glucose is less viscous than sucrose, a higher concentration of overall dissolved solids (sugars and dextrins) increases viscosity.
- Unconverted Starch/Dextrins: These larger molecules contribute significantly to the syrup’s body and texture, providing the characteristic thickness that differentiates it from simple sugar syrup.
Warning:
Overcooking can lead to a syrup that is too thick, difficult to work with, or has a burnt taste. Undercooking will result in a syrup that is too thin and may not provide the desired anti-crystallization properties in recipes. Always rely on both temperature and visual cues.
Storage And Shelf Life Of Homemade Corn Syrup
Properly storing your homemade corn syrup is essential for maintaining its quality and ensuring its safety for use in recipes. Unlike commercial corn syrups that often contain preservatives, homemade versions rely on sugar concentration and refrigeration for preservation.
Refrigeration Is Key
Once your homemade corn syrup has cooled completely to room temperature, it should be transferred to an airtight container and stored in the refrigerator. The cold temperature significantly slows down microbial growth.
Container Choice
- Glass Jars: These are ideal as they are non-reactive and easy to clean. Ensure they have a tight-fitting lid.
- Airtight Plastic Containers: Food-grade plastic containers with secure lids can also be used.
Shelf Life
When stored properly in the refrigerator, homemade corn syrup typically lasts for about 3-4 weeks. Some sources might suggest longer, but it’s best to err on the side of caution, especially if you didn’t use distilled water or strain it meticulously.
- Signs of Spoilage: Before using, always check for signs of spoilage. These include:
- Mold growth: Any visible mold means the syrup should be discarded immediately.
- Off odor: A sour, fermented, or unusual smell indicates spoilage.
- Unusual color changes: Significant darkening or cloudiness beyond what’s normal for syrup could be a warning sign.
- Fermentation: Bubbles forming in the syrup.
Freezing (optional)
While not typically necessary, you can extend the shelf life by freezing your corn syrup. Transfer it to a freezer-safe container, leaving some headspace for expansion, and it can last for several months. Thaw it in the refrigerator before use.
Preventing Crystallization In Storage
Even homemade corn syrup can sometimes crystallize over time, especially if the sugar concentration isn’t high enough or if it’s exposed to temperature fluctuations.
- Ensure Proper Cooking Temperature: Cooking to the correct temperature range (230-240°F) helps create a stable syrup.
- Add a Pinch of Acid: Sometimes, adding a tiny extra pinch of cream of tartar or a few drops of lemon juice to the syrup before storing can help inhibit crystallization.
- Avoid Contamination: Use clean utensils and containers when handling the syrup.
Practical Applications And Recipes
Homemade corn syrup is incredibly versatile and can be used in a multitude of recipes where controlling sugar crystallization and achieving specific textures is paramount.
Candy Making
This is perhaps the most common application. Corn syrup prevents the formation of large sugar crystals, resulting in smooth, chewy, and clear candies.
- Fudge: Prevents a grainy texture, ensuring a silky-smooth fudge.
- Caramels: Contributes to the chewy, pliable texture.
- Lollipops and Hard Candies: Crucial for achieving clarity and preventing crystallization into a cloudy mass.
- Nougat: Helps create the characteristic chewy and airy structure.
Baking
Beyond candies, corn syrup plays a significant role in baking:
- Frostings and Glazes: Creates smooth, spreadable, and glossy finishes on cakes and pastries. It prevents royal icing from becoming brittle and grainy.
- Cheesecake: A small amount can contribute to a smoother, creamier texture in the filling.
- Pies: Used in some fruit pie fillings to help thicken and add a glossy appearance.
- Cookies: Can enhance chewiness and prevent spreading in some cookie recipes.
Other Uses
- Ice Cream: Helps lower the freezing point of the ice cream base, resulting in a smoother, less icy texture.
- Sweet Sauces: Adds gloss and body to various sweet sauces.
Example Recipe: Simple Homemade Caramel Sauce
Ingredients:
- 1 cup granulated sugar
- ½ cup homemade light corn syrup
- ½ cup heavy cream, warmed
- 4 tablespoons unsalted butter, cut into pieces
- 1 teaspoon vanilla extract
- ½ teaspoon salt (or to taste)
Instructions:
- In a heavy-bottomed saucepan, combine the sugar and homemade corn syrup. Stir gently just to combine.
- Cook over medium heat, stirring occasionally, until the sugar dissolves. Then, stop stirring and let the mixture bubble until it turns a deep amber color (around 350°F/175°C on a candy thermometer). Watch carefully to prevent burning.
- Slowly and carefully whisk in the warmed heavy cream. The mixture will bubble vigorously. Continue whisking until smooth.
- Remove from heat and whisk in the butter, vanilla extract, and salt until the butter is melted and the sauce is smooth.
- Let cool slightly before serving over ice cream, cakes, or other desserts. Store leftovers in an airtight container in the refrigerator.
This recipe highlights how homemade corn syrup contributes to the smooth, luxurious texture of caramel. For other baking essentials, exploring resources on kitchen tools can be beneficial, as the right equipment often complements homemade ingredients.
Troubleshooting Common Issues
Even with careful preparation, you might encounter a few hiccups when making corn syrup at home. Understanding these potential problems and their solutions can help ensure success.
Syrup Is Too Thick
- Cause: Overcooked, too much evaporation, or insufficient water.
- Solution: Gently reheat the syrup in the saucepan over low heat and whisk in a tablespoon or two of warm water at a time until the desired consistency is reached. Be careful not to scorch it.
- Prevention: Monitor the temperature closely and remove from heat promptly once the target range is achieved. Use the correct water-to-cornstarch ratio.
Syrup Is Too Thin
- Cause: Undercooked, not enough evaporation, or too much acid/water ratio.
- Solution: Return the syrup to the saucepan and continue to simmer gently over low heat, stirring frequently, until it thickens. Use a candy thermometer to guide you towards the 230-240°F range.
- Prevention: Ensure you cook the syrup for the recommended time and reach the target temperature.
Syrup Is Cloudy Or Grainy
- Cause: Undissolved cornstarch, insufficient hydrolysis, or sugar crystallization.
- Solution: If it’s due to undissolved
Leave a Reply