
If you just bought a Cuisinart food processor, you might wonder how to put it together. Don’t worry. This guide will help you step by step.
Assembling a food processor is not hard. But you must do it right for safe and good use.

What You Need To Know First
A Cuisinart food processor has many parts. Some parts are big, some are small. Each part has a special job.
Before you start, find a clean and flat place to work. This will help you keep all parts safe and clean.
Wash all removable parts with warm water and soap. Dry them well before you start assembly.
Parts Of Your Cuisinart Food Processor
Here are the main parts you will find:
| Part | Description |
|---|---|
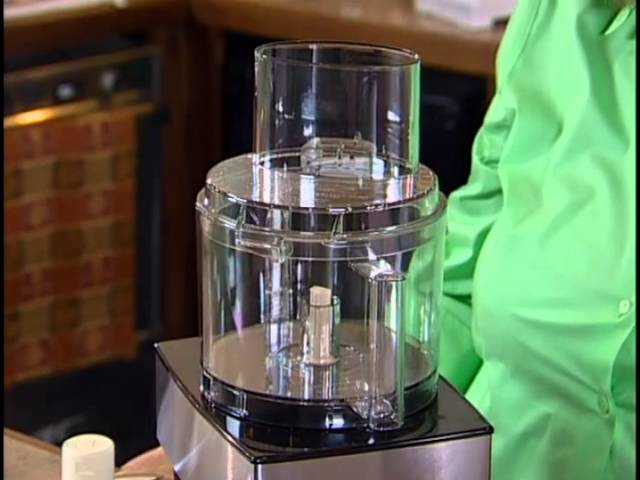
| Base | The heavy bottom with the motor inside |
| Bowl | The big container where you put food |
| Lid | Covers the bowl and locks in place |
| Feed Tube | Part of lid where you add food |
| Pusher | Used to push food down the feed tube |
| Blades and Discs | Cut, chop, or slice food inside the bowl |
Step-By-Step Guide To Assemble Your Food Processor
Follow these simple steps carefully.
Step 1: Place The Base On Your Counter
Put the base on a flat surface. Make sure the power cord is not plugged in yet.
Step 2: Attach The Bowl To The Base
Take the bowl and put it on the base. Turn the bowl clockwise until it locks. You will hear a click or feel it stop.
Step 3: Choose The Blade Or Disc
Select the blade or disc you want to use. Be careful. Blades are very sharp.
Hold the blade by the center hub only. Do not touch the edges.
Step 4: Put The Blade Or Disc Inside The Bowl
Place the blade on the center post inside the bowl. It should fit snugly and sit flat.
If you use a disc, place it on the disc stem. Make sure it locks in place.
Step 5: Attach The Lid
Put the lid on top of the bowl. Align the arrows or marks on the lid and bowl.
Turn the lid clockwise to lock it. The food processor will not work if the lid is not locked.
Step 6: Insert The Pusher Into The Feed Tube
Put the pusher inside the feed tube on the lid. It helps push food down safely.
Step 7: Plug In And Test
Now plug the food processor into an outlet. Turn it on to test if it works.
If it does not start, check if the bowl and lid are locked properly.
Tips For Safe Assembly
- Always unplug the food processor before assembly or cleaning.
- Be very careful with sharp blades. Handle with care.
- Make sure all parts fit well and lock in place.
- Do not force parts if they don’t fit easily.
- Follow the instructions in your user manual.
Cleaning After Assembly
After use, unplug the food processor. Remove the bowl and lid carefully.
Take out the blade or disc with care. Wash all parts with warm soapy water.
Dry all parts before putting them away.
Common Mistakes To Avoid
| Mistake | How To Fix |
|---|---|
| Not locking bowl or lid | Align parts and turn until you feel a click |
| Forgetting to place blade | Always put blade on center post before lid |
| Using wet hands on plug | Dry hands before plugging in for safety |
| Forcing parts to fit | Check alignment and try again gently |
Why Assemble Correctly?
Proper assembly keeps you safe. It helps the machine work well.
Wrong assembly can cause damage or accidents. Take your time.
It is better to check twice than fix mistakes later.
Frequently Asked Questions
How Do I Start Assembling A Cuisinart Food Processor?
Place the base on a flat surface. Attach the work bowl by turning it clockwise until it locks.
What Safety Checks Are Needed Before Assembly?
Ensure the unit is unplugged. Check all parts for cracks or damage before use.
How To Attach The Blade Correctly?
Hold the blade by the center plastic part. Place it on the spindle carefully to avoid cuts.
Can I Use The Food Processor Without The Lid?
No, the lid must be locked in place for safety and proper operation.
Conclusion
Assembling your Cuisinart food processor is simple. Follow these steps carefully.
Remember to handle blades with care. Make sure parts lock correctly.
Once assembled, your food processor is ready to help in the kitchen.
Enjoy chopping, slicing, and mixing with your new kitchen tool!
Leave a Reply