

Making your cat’s treats at home is a rewarding experience that allows you to control the ingredients, ensuring your feline friend receives nutritious and safe snacks. It’s a fantastic way to bond with your pet, cater to specific dietary needs or allergies, and save money compared to store-bought options.
Many commercial cat treats contain fillers, artificial colors, and preservatives that can be detrimental to your cat’s health. By preparing treats yourself, you can use wholesome ingredients like lean meats, fish, and cat-safe vegetables, tailoring them to your cat’s preferences and nutritional requirements.
This guide will walk you through the process, offering simple recipes, essential tips for safety and storage, and insights into why homemade is often the best choice for your beloved companion.
Key Takeaways
- Ingredient Control: Homemade treats allow you to select high-quality, natural ingredients, avoiding artificial additives, fillers, and potential allergens found in commercial treats.
- Nutritional Customization: You can tailor recipes to meet specific dietary needs, such as low-calorie options for weight management or protein-rich treats for active cats.
- Safety First: Always use cat-safe ingredients, avoid toxic foods like onions, garlic, and chocolate, and ensure proper cooking to eliminate harmful bacteria.
- Simple Recipes: Basic recipes often involve blending protein sources with a binder and baking or dehydrating them into palatable shapes.
- Storage is Crucial: Properly store homemade treats to maintain freshness and prevent spoilage, using airtight containers and refrigeration or freezing for longer shelf life.
- Gradual Introduction: Introduce new homemade treats slowly to monitor for any digestive upset or allergic reactions.

The Benefits Of Homemade Cat Treats
Opting for homemade cat treats offers a plethora of advantages that extend beyond simple cost savings. The primary benefit lies in complete ingredient transparency. When you bake at home, you know precisely what goes into each treat. This is particularly important for cats with sensitive stomachs, allergies, or specific health conditions. Commercial cat treats can be a minefield of ingredients designed for shelf-life and palatability for humans, not necessarily optimal nutrition for felines.
Beyond the ingredients, homemade treats provide nutritional customization. You can create high-protein, low-carbohydrate snacks that align with a cat’s carnivorous nature. If your cat needs to lose weight, you can formulate treats with fewer calories and more fiber. For older cats, you might incorporate ingredients known to support joint health. This level of personalization is simply not possible with mass-produced treats. Furthermore, the process of making treats can be a bonding experience. Spending time preparing something special for your cat fosters a deeper connection and demonstrates your care. It’s also an excellent way to use up small amounts of leftover cooked meat or fish, reducing waste and providing a unique, delicious reward for your pet.
Essential Ingredients For Cat Treats
When embarking on your homemade cat treat journey, selecting the right ingredients is paramount. Cats are obligate carnivores, meaning their diet primarily consists of meat. Therefore, protein sources should form the foundation of most treat recipes.
Protein Powerhouses
- Cooked Meats: Plain, cooked chicken, turkey, beef, or lamb are excellent choices. Ensure they are thoroughly cooked and free from any seasonings, oils, or fats. Small, finely diced pieces or pureed meat work well.
- Fish: Cooked fish like salmon, tuna (in moderation due to mercury concerns), or sardines can be highly palatable. Always ensure fish is deboned and cooked.
- Liver: Chicken or beef liver, cooked and finely chopped or pureed, is a nutrient-rich option, packed with vitamins. However, it should be given in moderation due to its high vitamin A content.
Flavor Enhancers And Binders
- Catnip: A favorite of many cats, dried or fresh catnip can be added for extra appeal.
- Tuna or Salmon Water: The liquid from a can of tuna or salmon packed in water (not oil) can add flavor and moisture.
- Plain Yogurt or Cottage Cheese: In small amounts, these can provide calcium and protein. Ensure they are plain and unsweetened, as many cats are lactose intolerant, so moderation is key.
- Eggs: A whole egg, cooked, can add protein and act as a binder.
- Oat Flour or Whole Wheat Flour: Used sparingly as a binder, these can help create a dough-like consistency for baked treats. Ensure your cat has no gluten sensitivities.
- Pumpkin Puree: Unsweetened, plain pumpkin puree (not pie filling) is a good source of fiber and can aid digestion. It also adds moisture and a binding quality.
Ingredients To Strictly Avoid
It’s crucial to be aware of ingredients that are toxic to cats. Even in small quantities, some foods can cause serious health issues.
- Onions, Garlic, Chives, and Leeks: These alliums can damage a cat’s red blood cells, leading to anemia.
- Chocolate: Contains theobromine, which is toxic to cats, similar to dogs.
- Grapes and Raisins: Can cause kidney failure.
- Alcohol and Caffeine: Highly toxic and can lead to severe health problems.
- Xylitol: An artificial sweetener found in some human foods (like sugar-free gum and peanut butter) that is extremely toxic to cats.
- Raw Dough: The yeast can expand in a cat’s stomach, causing bloating and potentially alcohol poisoning.
- Bones: Cooked bones can splinter and cause choking or internal damage.
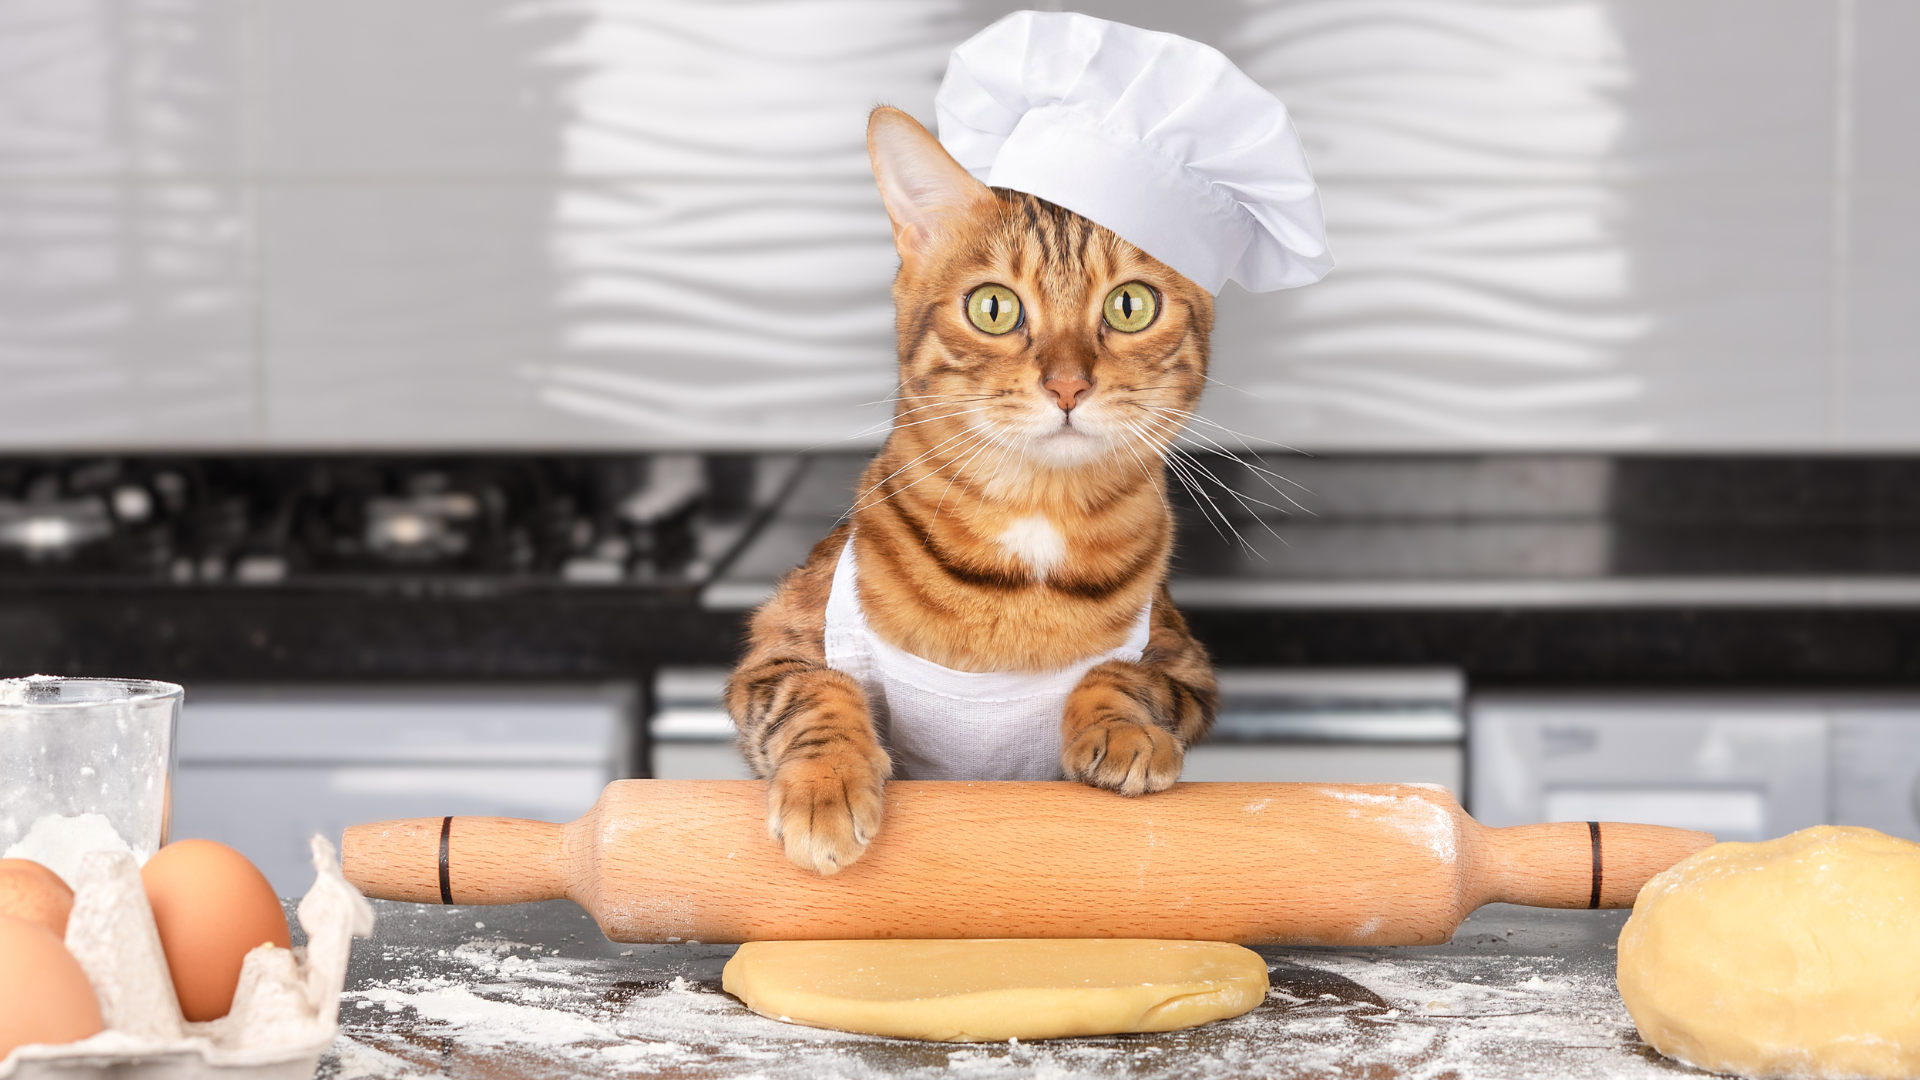
Simple Homemade Cat Treat Recipes
Creating delicious and healthy treats for your cat doesn’t require complex culinary skills. Here are a few straightforward recipes to get you started.
Recipe 1: Tuna & Sweet Potato Bites
This recipe is packed with protein and beneficial nutrients. Sweet potato is a good source of fiber and vitamins.
Ingredients:
- 1 can of tuna in water, drained (about 5 oz)
- 1/4 cup cooked, mashed sweet potato (plain, unsweetened)
- 1 egg, lightly beaten
- 2 tablespoons whole wheat flour or oat flour (adjust as needed for consistency)
Instructions:
- Preheat your oven to 350°F (175°C).
- In a medium bowl, combine the drained tuna, mashed sweet potato, and beaten egg. Mix well.
- Gradually add the flour, mixing until a firm dough forms. If the dough is too sticky, add a little more flour; if too dry, add a tiny bit of water or tuna juice.
- On a lightly floured surface, roll out the dough to about 1/4 inch thickness.
- Use small cookie cutters (fish shapes are fun!) Or a knife to cut out bite-sized treats.
- Place the treats on a baking sheet lined with parchment paper.
- Bake for 15-20 minutes, or until firm and lightly golden.
- Let them cool completely before serving.
Recipe 2: Chicken & Catnip Pâté Rolls
These soft, pâté-like treats are perfect for cats who prefer softer foods or have dental issues.
Ingredients:
- 1/2 cup cooked chicken breast, finely ground or pureed
- 1 tablespoon plain yogurt (optional, for moisture and calcium)
- 1 teaspoon dried catnip
- 1 tablespoon nutritional yeast (adds a cheesy flavor cats often enjoy and B vitamins)
Instructions:
- In a bowl, combine the ground chicken, yogurt (if using), catnip, and nutritional yeast.
- Mix thoroughly until a paste-like consistency is achieved.
- On a piece of plastic wrap or parchment paper, spread the mixture thinly into a rectangular shape, about 1/4 inch thick.
- Carefully roll the mixture tightly, like a jelly roll, using the plastic wrap or parchment paper to help.
- Wrap the roll tightly and refrigerate for at least 1 hour, or until firm.
- Once firm, unwrap and slice into small, coin-sized pieces.
- Store in an airtight container in the refrigerator. These are best served fresh within 2-3 days.
Recipe 3: Salmon & Oat Energy Bites
Rich in omega-3 fatty acids, these bites are great for coat health.
Ingredients:
- 1/2 cup cooked salmon, deboned and flaked
- 1/4 cup rolled oats (not instant)
- 1 tablespoon flaxseed meal (ground flaxseed)
- 1-2 tablespoons water (as needed)
Instructions:
- In a bowl, flake the cooked salmon.
- Add the rolled oats and flaxseed meal to the salmon.
- Mix well, gradually adding water, one tablespoon at a time, until the mixture holds together when pressed.
- Roll the mixture into small, bite-sized balls (about 1/2 inch diameter).
- You can serve these as is, or for a firmer treat, place them on a parchment-lined baking sheet and bake at 300°F (150°C) for 10-15 minutes until slightly firm.
- Allow to cool completely.

Baking Vs. Dehydrating Cat Treats
Both baking and dehydrating are excellent methods for creating homemade cat treats, each offering unique advantages in terms of texture and preservation.
Baking
Baking is the most common method due to its accessibility and speed. It transforms simple ingredients into firm, often crunchy or chewy, treats. The heat of the oven cooks the ingredients thoroughly, killing bacteria and creating a palatable texture.
- Pros: Relatively quick, produces a satisfying crunch or chew, easy to control texture by adjusting baking time.
- Cons: Can sometimes dry out treats too much if overbaked, requires an oven.
Pro Tip: For crispier baked treats, you can often lower the oven temperature slightly and bake for a longer duration, ensuring the inside is fully cooked without burning the outside. This method is similar to how some commercial biscuits are made.
Dehydrating
Dehydrating involves removing moisture from food at a low temperature over an extended period. This method is ideal for creating very dry, shelf-stable treats that retain more nutrients compared to high-heat baking. It’s particularly good for preserving the integrity of raw or lightly cooked meats.
- Pros: Excellent for preservation, creates very dry and shelf-stable treats, retains more nutrients, can be used for raw meat treats (though thoroughness is key).
- Cons: Time-consuming (can take many hours), requires a dehydrator or a specialized oven setting.
When deciding between baking and dehydrating, consider the desired texture and how long you want the treats to last. For everyday treats, baking is usually sufficient. For longer-term storage or a different texture, dehydrating is the way to go.
Understanding Cat Treat Portions And Nutrition
While homemade treats are healthier, moderation is still key. Cats have specific nutritional needs, and treats should only make up a small percentage of their daily caloric intake.
Caloric Contribution
Veterinary guidelines generally suggest that treats should not exceed 10% of a cat’s total daily calorie intake. For an average adult cat consuming around 200-250 calories per day, this means treats should contribute no more than 20-25 calories. This is a small amount, so homemade treats should be made small and given sparingly.
Nutritional Balance
Homemade treats are primarily supplemental. They should not replace a balanced commercial or home-prepared feline diet. Focus on treats that are high in protein and low in carbohydrates, reflecting a cat’s natural dietary needs. Avoid recipes that rely heavily on grains or sugars.
Portion Control Tips
- Size Matters: Make treats small, no larger than a thumbnail for most adult cats.
- Count Them: Keep track of how many treats you give your cat each day.
- Adjust Meal Portions: If you give your cat more treats than usual, slightly reduce their main meal portion to compensate for the extra calories.
- Healthy Choices: Opt for recipes with lean proteins and minimal fillers.
A comparison of typical calorie counts can be insightful:
| Treat Type | Approximate Serving Size | Estimated Calories |
|---|---|---|
| Commercial Dry Treat (Small) | 1 piece | 2-5 kcal |
| Commercial Semi-Moist Treat (Small) | 1 piece | 3-7 kcal |
| Homemade Tuna & Sweet Potato Bite (Small) | 1/2 inch bite | 5-10 kcal |
| Homemade Chicken & Catnip Pâté Roll (Small coin) | 1/2 inch coin | 5-10 kcal |
| Homemade Salmon & Oat Bite (Small ball) | 1/2 inch ball | 7-12 kcal |
*Note: Calorie counts are estimates and can vary significantly based on specific ingredients and preparation methods.*
Food Safety And Storage For Homemade Treats
Ensuring the safety and proper storage of homemade cat treats is just as important as selecting the right ingredients. Improper handling can lead to spoilage and potential health risks for your cat.
Handling Raw Ingredients
If you choose to use raw meat or fish in your recipes (which requires careful consideration and is often best avoided for beginners unless dehydrating thoroughly), strict hygiene is paramount.
- Wash your hands thoroughly with soap and water before and after handling raw ingredients.
- Use separate cutting boards and utensils for raw meat to prevent cross-contamination.
- Clean all surfaces and equipment that come into contact with raw ingredients immediately after use.
Cooking And Cooling
- Thorough Cooking: For baked or boiled ingredients, ensure they are cooked completely to kill harmful bacteria like Salmonella and E. coli. Internal temperatures should reach safe levels (e.g., 165°F or 74°C for poultry).
- Rapid Cooling: Once cooked, allow treats to cool completely before storing. Leaving warm treats in a sealed container can create condensation, promoting bacterial growth. Spread them out on a wire rack to cool quickly.
Storage Guidelines
The shelf life of homemade cat treats depends heavily on their moisture content and storage method.
- Refrigeration: Treats with higher moisture content (like the pâté rolls) should be stored in an airtight container in the refrigerator. They are typically safe for 3-5 days.
- Freezing: For longer storage, freezing is the best option. Place cooled treats in a freezer-safe bag or container. They can last for 1-3 months when frozen. Thaw treats in the refrigerator before serving.
- Dehydrated Treats: Thoroughly dehydrated treats, with very low moisture content, can be stored in an airtight container at room temperature for 1-2 weeks. However, for maximum freshness and safety, refrigeration is still recommended.
Warning: Always inspect homemade treats before serving. Discard any that show signs of mold, unusual odors, or changes in texture. When in doubt, throw it out.
Introducing New Treats To Your Cat
Even the most health-conscious homemade treats need to be introduced carefully. Cats can have sensitive digestive systems, and a sudden change in diet can lead to upset stomachs.
Gradual Introduction
- Start Small: Offer only one tiny piece of the new treat initially.
- Observe: Monitor your cat for any signs of digestive upset, such as vomiting, diarrhea, or lethargy, over the next 24-48 hours.
- Increase Slowly: If your cat tolerates the small amount well, you can gradually increase the portion size or frequency over several days.
Monitoring For Allergies
While less common with simple, single-ingredient treats, allergies can occur. Signs of an allergic reaction might include:
- Skin issues (itching, redness, hair loss)
- Gastrointestinal upset (vomiting, diarrhea)
- Respiratory issues (sneezing, wheezing)
If you suspect an allergy, discontinue the treat immediately and consult your veterinarian.
Dehydrated Vs. Baked: A Texture Comparison
The method of preparation significantly impacts the final texture of your cat treats, which can influence your cat’s preference.
| Method | Typical Texture | Moisture Content | Shelf Stability (Room Temp) | Best For |
|---|---|---|---|---|
| **Baked** | Crunchy, chewy, or firm biscuit-like | Medium to Low | 1-2 weeks (if fully dried) | Everyday treats, training rewards, satisfying crunch |
| **Dehydrated** | Very dry, brittle, jerky-like, or hard | Very Low | 2-4 weeks (if fully dried) | Long-term storage, preserving raw meat nutrients |
| **No-Bake/Pâté** | Soft, moist, paste-like, or slightly firm | High | 3-5 days (refrigerated) | Kittens, senior cats, cats with dental issues |
In my experience, cats often have distinct preferences for texture. Some adore a good crunch, while others prefer a softer, more yielding treat. Offering a variety of textures can keep treat time exciting for your feline friend. For instance, a crunchy baked salmon treat might be perfect for a quick reward, while a soft chicken pâté roll could be ideal for a gentle training session.
When To Consult A Veterinarian
While homemade treats offer numerous benefits, there are situations where professional advice is essential.
- Health Conditions: If your cat has a pre-existing health condition (e.g., kidney disease, diabetes, allergies), always consult your veterinarian before introducing any new treats, homemade or commercial. They can advise on appropriate ingredients and portion sizes.
- Dietary Changes: If you are considering making significant changes to your cat’s diet, including a higher proportion of homemade treats, seek veterinary guidance to ensure nutritional adequacy.
- Suspected Illness: If your cat experiences persistent digestive issues or allergic reactions after consuming homemade treats, a vet visit is crucial for diagnosis and treatment.
Your veterinarian is the best resource for ensuring your cat’s dietary choices, including treats, support their overall health and well-being.
Frequently Asked Questions
Why Are Homemade Cat Treats Better Than Store-bought?
Homemade cat treats offer superior ingredient control, allowing you to avoid artificial preservatives, colors, flavors, and fillers often found in commercial products. You can also tailor nutrition to your cat’s specific needs, such as creating low-calorie or high-protein options. This transparency and customization contribute to better overall health for your cat.
What Are The Most Common Toxic Ingredients For Cats In Treats?
The most dangerous ingredients to avoid include onions, garlic, chives, leeks (allium family), chocolate, grapes and raisins, alcohol, caffeine, and the artificial sweetener xylitol. Always double-check ingredient lists for these items and ensure they are never included in homemade treats.
How Long Do Homemade Cat Treats Last?
The shelf life varies by preparation method and ingredients. Moist treats (like pâté rolls) stored in an airtight container in the refrigerator typically last 3-5 days. Baked treats can last 1-2 weeks at room temperature if thoroughly dried and stored properly in an airtight container. Dehydrated treats can last 2-4 weeks at room temperature. For maximum freshness and safety, freezing treats in an airtight container is recommended, where they can last for 1-3 months.
Can I Use Human-grade Ingredients For My Cat Treats?
Yes, many human-grade ingredients are perfectly safe and beneficial for cats, such as plain cooked meats (chicken, turkey, beef), fish, eggs, and certain vegetables like pumpkin or sweet potato. However, it’s crucial to ensure these ingredients are unseasoned (no salt, spices, oils, or artificial sweeteners) and that you strictly avoid any ingredients known to be toxic to cats.
What Is The Best Way To Store Homemade Cat Treats?
The best storage method depends on the treat’s moisture content. Airtight containers are essential for all types. For moist treats, refrigeration is necessary. For longer preservation, freezing is ideal. Thoroughly dehydrated treats can be stored at room temperature, but refrigeration is still a safer bet for extended freshness. Always check for signs of spoilage before serving.
Crafting your cat’s treats at home is a journey into understanding their nutritional needs and preferences more deeply. By focusing on safe, high-quality ingredients and employing simple preparation methods, you can provide your feline companion with delicious rewards that contribute positively to their health and happiness.
Remember to always prioritize safety in preparation and storage, introduce new treats gradually, and consult your veterinarian when in doubt. The effort you put into making these special snacks will undoubtedly be rewarded with purrs and happy meows.
Leave a Reply