
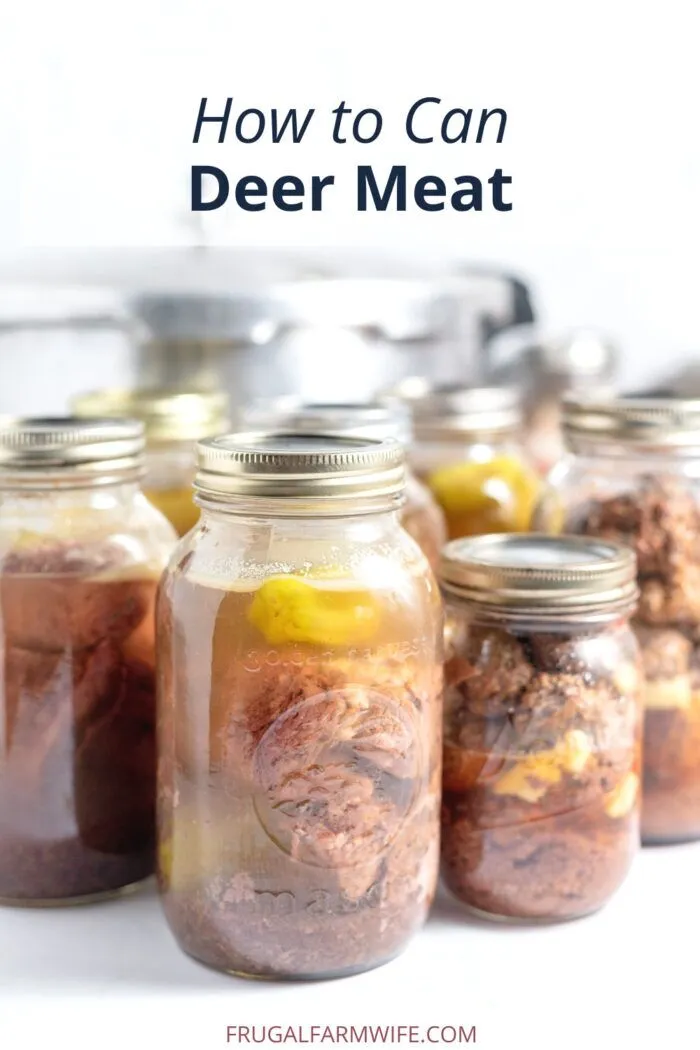
Canning deer meat at home is a great way to save your harvest. It helps keep the meat fresh for months. Using a pressure cooker makes the process safe and simple. In this article, you will learn how to can deer meat step by step.
Why Can Deer Meat?
Deer meat, also called venison, is healthy and tasty. But fresh meat spoils fast. Canning stops bacteria and keeps meat good for a long time. You can enjoy venison any time without freezer space.
What You Need To Can Deer Meat
Before you start, gather these items:
- Deer meat: Fresh and trimmed of fat and silver skin
- Pressure cooker: Large enough to hold jars
- Mason jars: Pint or quart size, with lids and bands
- Knife and cutting board: For cutting meat
- Salt: For flavor and preservation (optional)
- Clean water: For rinsing and adding to cooker
- Jar lifter and funnel: To handle hot jars
- Paper towels or clean cloth: To wipe jar rims
Preparing The Deer Meat
Start by cutting the deer meat. Remove all fat and silver skin. Fat can go bad faster. Cut meat into small cubes about 1 inch in size. This helps heat get inside the meat during canning.
Rinse the meat with cold water. Pat dry with paper towels. Keep the meat cold until you are ready to pack the jars.
Choosing The Right Jars
Use only canning jars made for pressure canning. Pint or quart jars work well. Check jars for cracks or chips before use. Always use new lids for sealing. Bands can be reused if in good shape.
How To Pack The Jars
You can pack the jars in two ways:
- Raw pack: Put raw meat into jars, then add boiling water.
- Hot pack: Pre-cook the meat by boiling or browning, then pack hot meat and broth into jars.
Raw pack is easier and common. Hot pack can give better texture and flavor.
Raw Pack Method Steps
- Fill jars with raw meat pieces, leaving 1 inch headspace.
- Add 1/2 teaspoon salt per pint jar, if desired.
- Pour boiling water over meat, keeping 1 inch headspace.
- Remove air bubbles by running a non-metallic spatula around inside.
- Wipe jar rims with clean cloth.
- Place lids and screw bands on jars finger-tight.
Hot Pack Method Steps
- Simmer meat in water or broth for 10 minutes.
- Fill jars with hot meat and broth, leaving 1 inch headspace.
- Add salt if you like.
- Remove air bubbles.
- Wipe rims and seal jars.
Preparing The Pressure Cooker
Before placing jars inside, add 2 to 3 inches of hot water in the bottom of the pressure cooker. Water helps create steam to cook jars evenly.
Put the rack inside the cooker. Place jars on the rack. Make sure jars do not touch each other or the sides of the cooker.
Processing The Jars
Close the pressure cooker lid tightly. Heat on medium-high to build pressure. Follow your cooker’s instructions to reach 10 pounds of pressure.
Keep pressure steady at 10 pounds. Start timing once pressure is reached.
Process times differ by jar size:
| Jar Size | Processing Time at 10 psi |
|---|---|
| Pint jars | 75 minutes |
| Quart jars | 90 minutes |
After time is up, turn off heat. Let pressure drop naturally. Do not open lid until pressure gauge reads zero.
Cooling And Storing The Jars
Carefully open lid away from face to avoid steam burns. Use jar lifter to remove jars. Place jars on a towel or rack to cool.
Do not tighten lids after processing. Leave bands as they are. Cool jars for 12 to 24 hours.
Check seals by pressing the center of each lid. It should not move or pop back. If a jar is not sealed, refrigerate and use meat soon.
Label jars with date and contents. Store in a cool, dark place. Properly canned meat lasts for at least one year.
:max_bytes(150000):strip_icc()/RM-AR-220869-easy-pressure-cooker-pot-roast-ddmfs-hero-4x3-0ce2836ae9f94912a05bf3b17631498c.jpg)
Tips For Best Results
- Use fresh meat, not frozen or spoiled.
- Trim fat well to prevent spoilage.
- Use recommended processing times and pressure.
- Keep jars and lids clean and sterilized.
- Do not change headspace or processing time.
- Follow your pressure cooker manual carefully.
Why Use A Pressure Cooker?
Deer meat is low acid. It needs high heat to kill bacteria. A pressure cooker reaches high temperatures above boiling water. This kills germs and prevents botulism.
Boiling water canners are not safe for meat. Pressure cookers protect your health. They also save time and energy.
Common Mistakes To Avoid
- Not removing fat and silver skin.
- Using wrong jars or damaged lids.
- Under-processing or low pressure.
- Opening cooker too soon.
- Not checking jar seals before storing.
How To Use Canned Deer Meat
Canned deer meat is cooked and ready to eat. Use it in soups, stews, or chili. It can be shredded or cut for sandwiches. Just heat and enjoy.
Summary
Canning deer meat in a pressure cooker is simple and safe. Prepare meat by trimming and cutting. Pack jars with raw or hot meat. Process jars at 10 psi for correct time. Cool jars and check seals. Store properly for months of tasty venison.
This method helps you enjoy deer meat anytime. It saves freezer space and reduces waste. Follow steps carefully. Stay safe and enjoy your canned venison.
Frequently Asked Questions
How Long Should I Pressure Can Deer Meat Safely?
Deer meat should be canned for 75 minutes at 10 pounds pressure. This ensures all bacteria are killed. Always follow your pressure cooker’s manual.
What Type Of Jars Are Best For Canning Deer Meat?
Use clean, wide-mouth, mason jars made for canning. They seal tightly and are safe for pressure cooking. Avoid cracked or chipped jars.
Can I Can Deer Meat Without Adding Liquid?
No, add at least 1 cup of broth or water per jar. Liquid helps heat reach all parts of the meat. It also prevents jars from drying out.
How Do I Prepare Deer Meat Before Canning?
Cut meat into 1-inch cubes and remove fat and silver skin. Brown meat lightly if desired for better flavor. Pack jars tightly but do not crush.
Leave a Reply